Pins in the Timeline

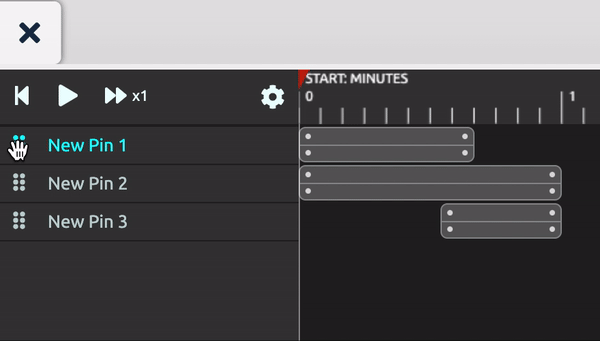
The timeline is where you can edit the movements you have created in your scene. Each action type has a different representation in the timeline.
Use the simple slider to scrub through time and see how the movement in your scene plays out.
Open the timeline by clicking the clock in the bottom left corner of the screen.
Timeline Elements:
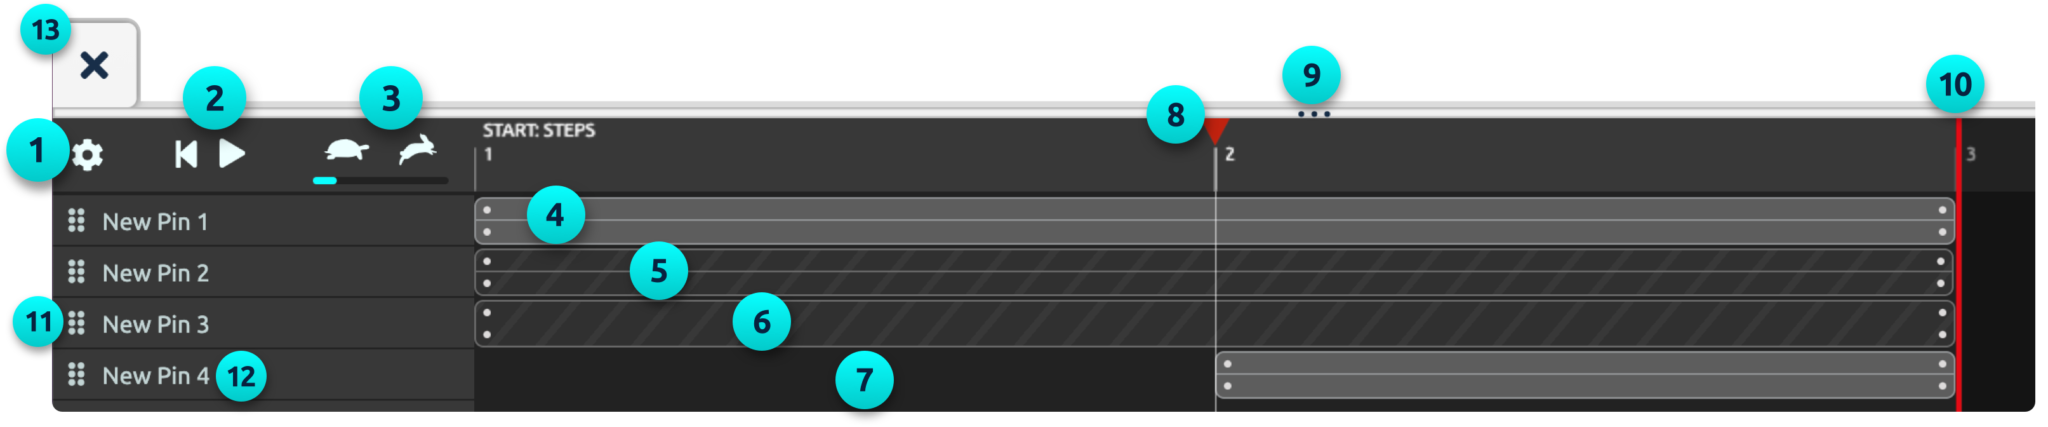
1. Time settings – Shortcut to the timeline settings in the Space Time modal.
2. Playback controls – Let’s you play through your action, or takes you back to the start so that you can play it through from the beginning. (Use the spacebar as a shortcut to play.)
3. Playback speed – Use the tortoise to slow down the pace and the hare to make it faster.
These settings will be saved when you export your scene or project.
4. Visible path – Pin with movement.
5. Hidden path – Hidden pin with movement.
6. Hidden pin – This represents a static pin (no movement) that is hidden.
7. Static pin – The blank area represents a visible pin that is not moving.
8. Timeline needle – Scrub through time by dragging the needle.
9. Resize handle – Resize the timeline by dragging this handle.
10. End time – This red line represents the end time. Click and drag the line to extend or shorten the length of your scene.
11. Grabber handles – Click and drag on the handle to reorder pins in the timeline.
12. Pin name – Click to edit the pin name.
13. Close – Click the X to close the timeline.
Open the big timeline to see your pin paths, hidden pins and to edit pin actions, including:
- Start time
- Duration
- Visibility
You can also reorder the pins in the timeline and edit the name to help you organise your movements. To re-order them simply click on the six dots and drag it to where you want it to go.