
Create a new project
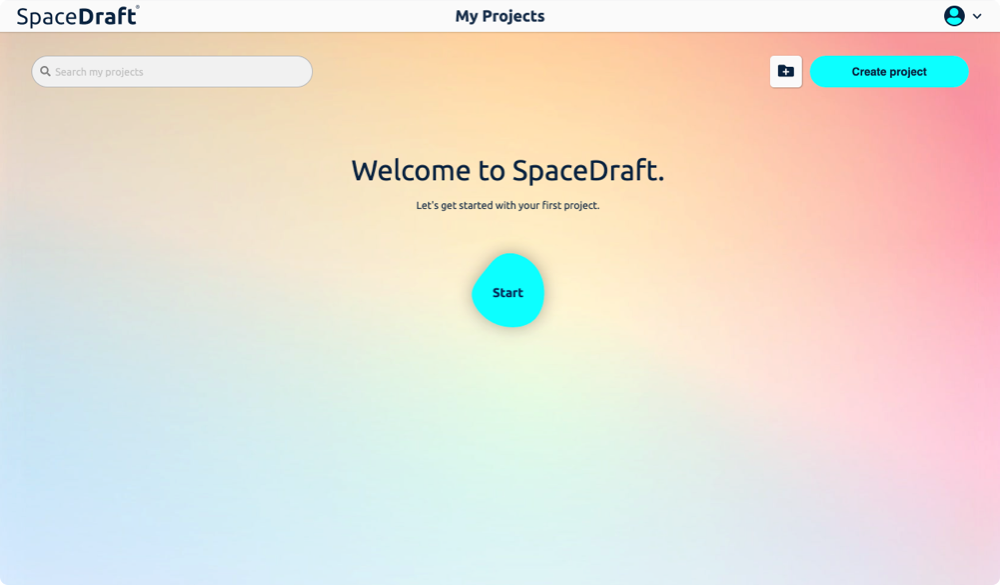
If you have no projects in your account, you will be met with a welcome message and the start button, click the button to get started.
If you have projects in your account, you can create a new project by clicking the neon ‘Create project’ button found in the top right corner of your screen.
To create a new project:
1. Click ‘Create project’ button
2. Choose from one of our templates under ‘Use Cases’
3. Or click ‘Start from scratch’ to open an empty project.
Project page functions
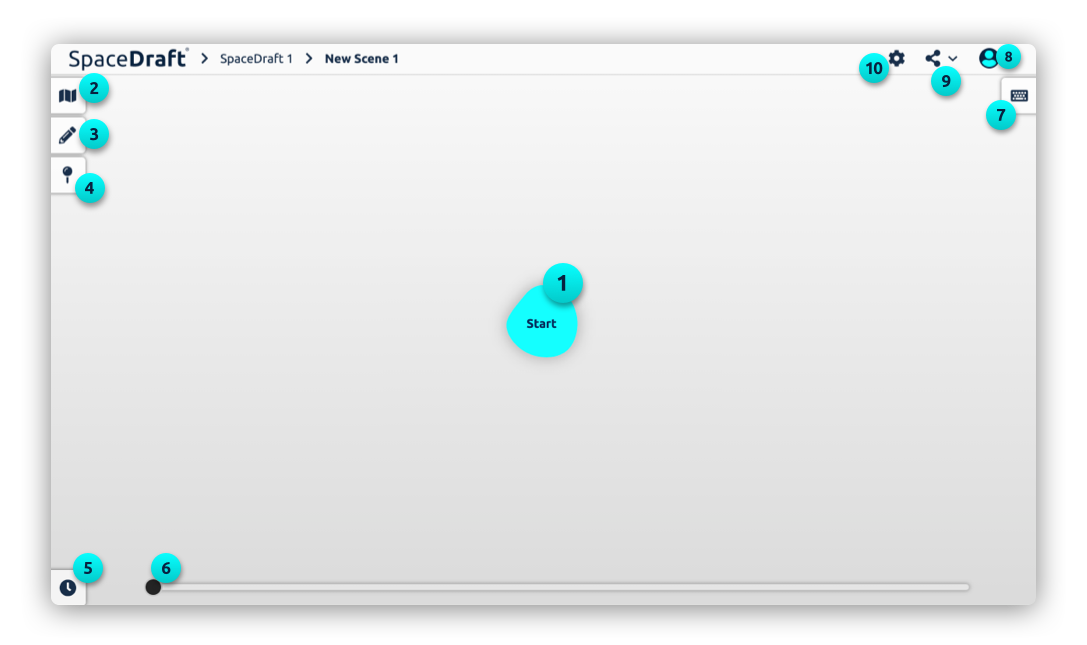
1. Start: The Start button takes you to the Space & Time Modal.
2. Master: Add new scenes and toggle between them here.
3. Draw: Annotate your scene using the draw functions.
4. Pin Library: Manage and create new pins.
5. Timeline: Open the timeline to see your pin paths.
6. Slider: Use the slider to scrub through time.
7. Script: The script can be used to describe your scene.
8. Profile: Navigate to the projects page or log out.
9. Space & Time Modal: Background and timeline settings.
10. Share / Export: Export and collaborative options.
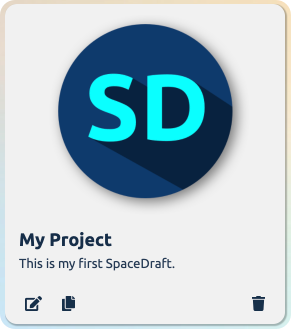
You can edit your project title and description at any time from the My Projects page by clicking the edit button on the tile, or within the project itself by navigating to the Project Overview section. To find the Project Overview, go to Master > Cover > Project Overview.
Here, you can also upload a project thumbnail image.
Project overview
You can edit your project title and description by navigating to the project overview.
Open the project overview from the My Projects page by clicking the edit button on the project tile. The project overview window will open where you can edit the project name, description and upload a thumbnail image.
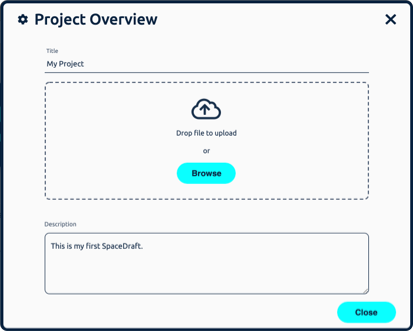
To find the project overview within a project , go to Master > Cover > Project Overview.